
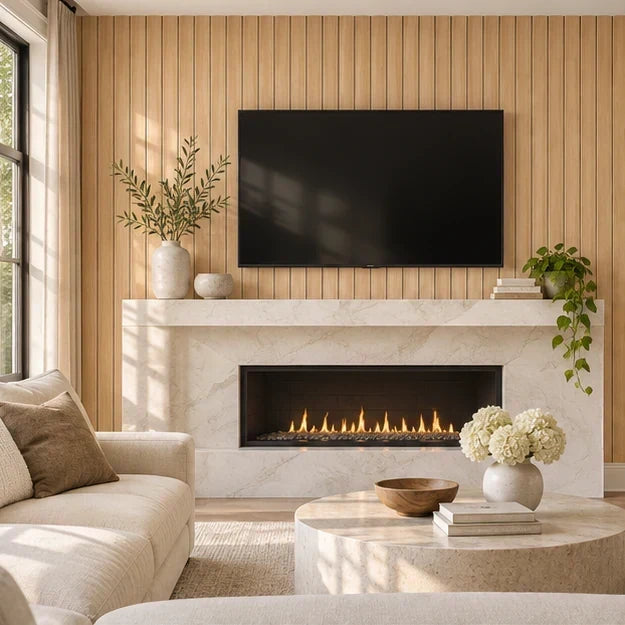
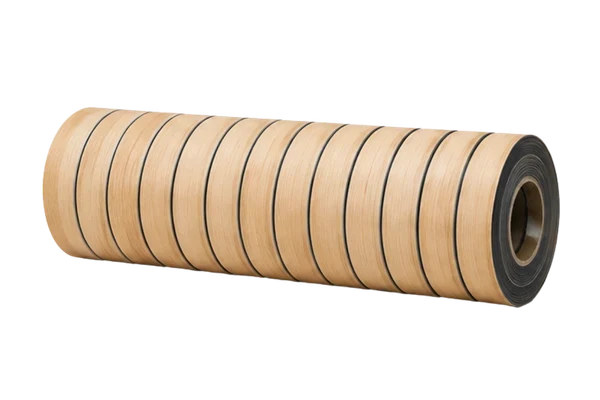
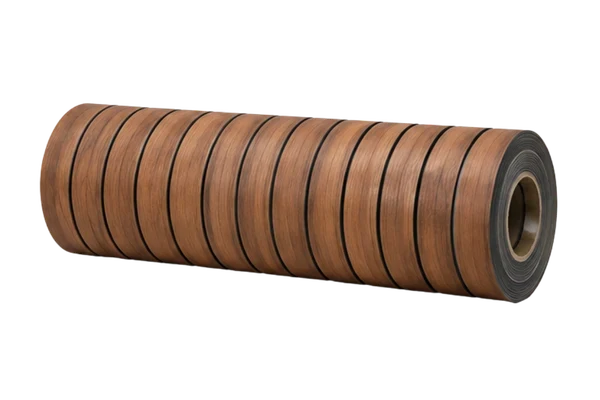
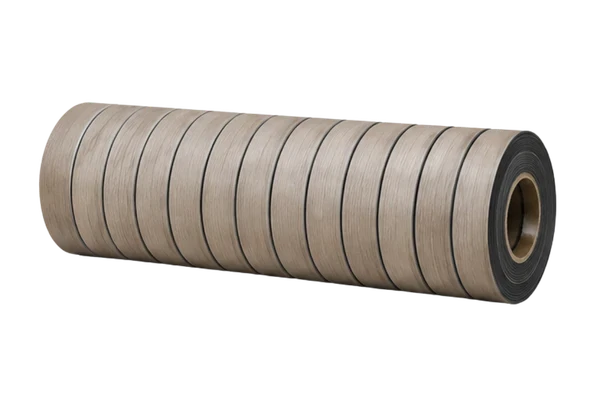

Colours can vary slightly between screens. Order a sample if you want to be sure.
3D wood-effect wall panels
3D Wood Slat Wall Panel
Peel-and-stick slat panels that give any wall the warmth of real wood — no tools, no paint, no damage when you move.
Each roll: 60 × 300 cm (23.6 in × 9.8 ft) · covers 1.8 m² (19.4 sq ft) · self-adhesive
Choose your finish
Tap a colour — the photos update to show it.
How many rolls do you need?
Enter your wall size — we do the maths.
Choose the number of rolls directly.
Buy more, save more
What you're ordering
Choose a finish to see your order
- Each roll
- Total material
- Thickness
- 3 mm
- Your wall
Included
- Rolls in the finish you chose
- Adhesive backing already applied
- Printed step-by-step installation guide
Not included
- Cutting knife and straightedge
- Tape measure and level
- Installation service
Secure checkout · 30-day returns on unopened rolls
No surprises
Exactly what's in the box.
Everything you're paying for — and everything you're not — before you order.
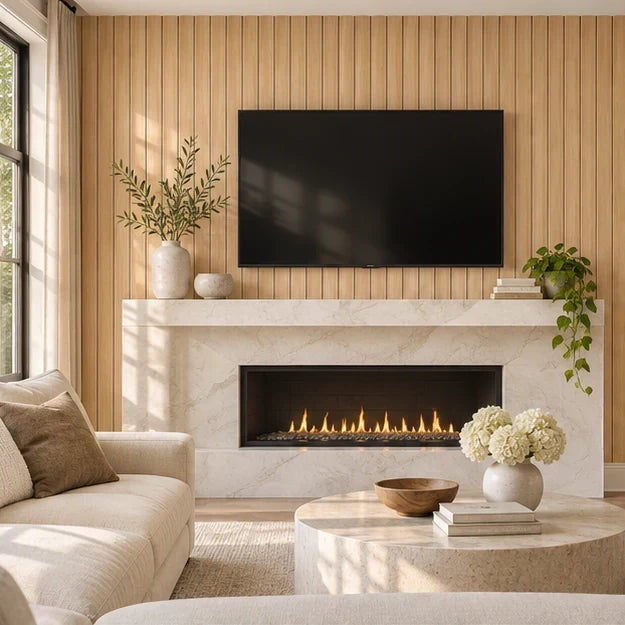
Each roll
- Size
- 60 × 300 cm (23.6 in × 9.8 ft)
- Covers
- 1.8 m² (19.4 sq ft) per roll
- Thickness
- 3 mm
- Backing
- Self-adhesive — peel and stick
- Finishes
- Light Oak · Walnut · Ash · Dark Gray
- Cleaning
- Wipe with a damp cloth
Included in your order
- The number of rolls you choose, all in one finish
- Adhesive backing already applied — no glue needed
- Printed installation guide
Not included
- Tools (knife, straightedge, level)
- Installation service
- Trims or corner profiles
Great for
- Feature walls behind a TV, bed or sofa
- Renters — removable without damage on sound paint
- Kitchen islands and headboards
Not suitable for
- Floors and ceilings
- Direct heat: inside fireplace clearances, behind hobs
- Damp or freshly painted walls
Start with your surface
Will it stick to my wall?
Pick your wall type to see if it's compatible and how to prepare it.
Choose your wall surface
Compatible. Wipe away dust and let the wall dry. Freshly painted walls need 2–3 weeks to cure first.
Compatible. Make sure the plaster is fully dry and dust-free, then apply.
Compatible with preparation. Fine textures are fine. Sand down sharp peaks so the adhesive makes full contact.
Compatible with preparation. Clean off grease with soapy water and dry well. Works best on large tiles with thin grout lines.
Compatible. Wipe clean. Sealed or varnished wood gives a strong bond.
Compatible with preparation. Must be sealed or primed — raw concrete is too dusty for the adhesive.
Not recommended. Remove the wallpaper first — the panel's weight can pull it off the wall.
Not recommended. Fix the moisture problem first. Adhesive won't hold on a wet or mouldy wall.
Same room. A whole new wall.
Drag the slider to see the difference one weekend makes — no tools, no paint, no mess.

The feature wall, considered
A fireplace. A focal point.
Bring depth to the walls around your fireplace — tap a zone to see what's safe.
 Find your installation zone
Upper wall
Frame the fireplace with vertical slats above the mantel. Install outside the appliance's required clearance area.
Keep vents and service access clear.
Side walls
Continue the slats onto the side walls for a wrap-around, built-in look.
Mantel area
Finish neatly against the mantel shelf. Cut the last strip to width with a sharp knife.
Fireplace surround
Never install on the firebox, hot metal surfaces or inside the heat clearance zone.
Heat can soften the adhesive and the panel.
Heat & placement
Always follow the clearances stated by your fireplace manufacturer. Keep vents, the firebox, hot metal and service panels uncovered.
Find its place in your home
Made for the rooms you use most.
Warm texture for kitchen islands, coffee corners and bathrooms — with an easy-to-wipe finish.
 Kitchen
Island front
The easiest high-impact upgrade: wrap the front and sides of your island.
Coffee station
Define a coffee or bar corner with a single panelled wall.
Backsplash
Fine away from the hob and sink. Wipe splashes promptly.
Keep at least 30 cm from the cooktop.
Behind the hob
Don't install directly behind a hob or oven — direct heat and grease will damage it.
 Bathroom
Vanity wall
Behind the vanity and mirror — away from direct water.
Inside the shower
Not for areas with running water or constant steam. Use in a well-ventilated bathroom only.
The installation guide
A new wall. Six simple steps.
Start at the top and work your way down. A little preparation makes a clean, aligned finish easy.

Step 1 / Installation
Prepare the wall
Start with a smooth, clean, dry wall. Wipe away dust and remove anything loose.
A clean, dry surface gives the adhesive an even start.
My wall feels dusty or uneven
Wipe with a slightly damp cloth, let it dry fully, and lightly sand any bumps.

Step 2 / Installation
Mark a straight line
Use a level to draw a vertical guide line for the first strip. Walls and corners are rarely perfectly straight.
Where should I start?
Start at the most visible edge — usually a corner or the centre of the wall — so any cut strip ends up in a less visible spot.

Step 3 / Installation
Peel the top of the backing
Peel back only the top 20 cm of the release film — not the whole sheet at once.
Don't peel it all. A fully exposed sheet sticks to itself and is hard to align.

Step 4 / Installation
Align and stick
Line the edge up with your guide, press the top in place, then slowly pull the backing down while you press.

Step 5 / Installation
Press it firmly
Run your hand or a soft cloth over the whole panel, from the centre outwards, to push out air.
Firm pressure is what makes the bond — go over it twice.

Step 6 / Installation
Trim the edges
Cut the excess at the ceiling, skirting and corners with a sharp knife and a straightedge.
Change the blade often — a sharp blade gives a clean cut.
Corners, outlets & seams
The details make the finish.
Tap a detail on the wall for the cut, alignment and finishing sequence.
 Six finishing guides
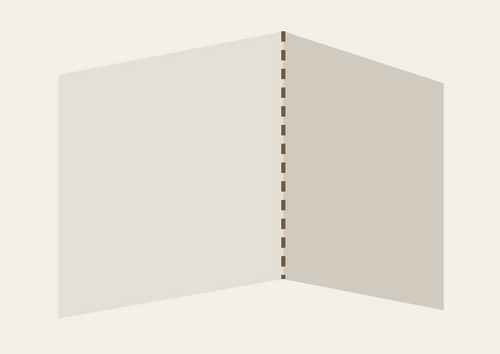
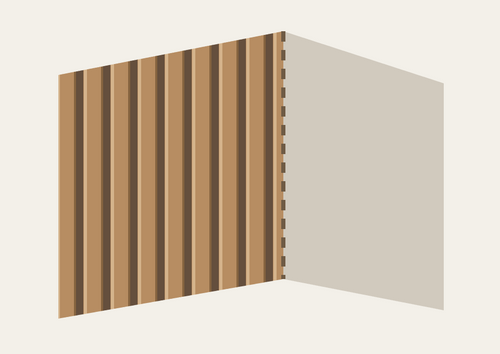
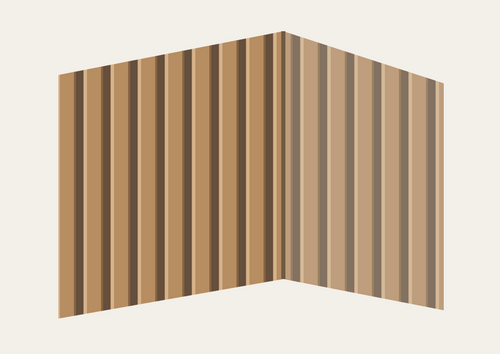
Inside corner
Dry-fit each wall face separately. Trim the first piece into the corner, then butt the next piece against it. Keep the ridges vertical and don't overlap material in the corner.
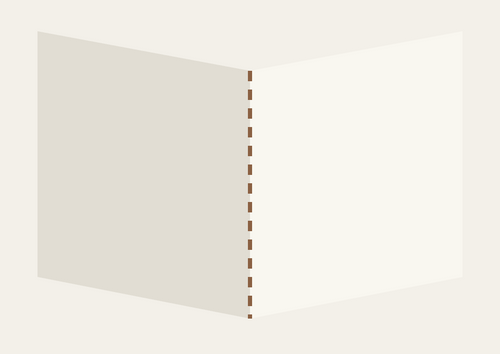
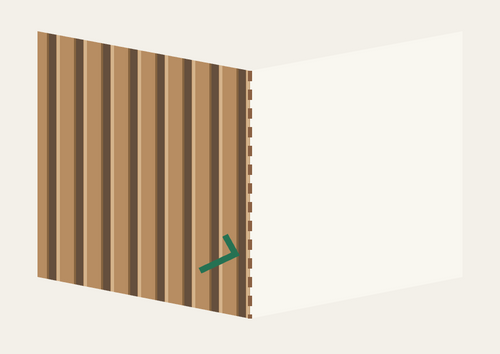
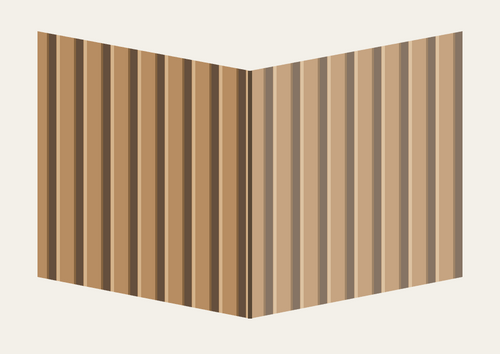
Dry-fit first. Align the channels before pressing.
Outside corner
Cut both pieces flush with the corner edge rather than bending the panel around it. A thin corner trim gives the cleanest finish.
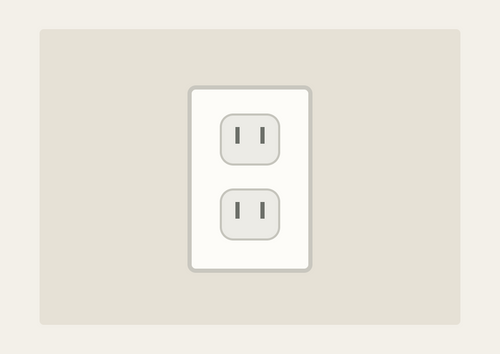
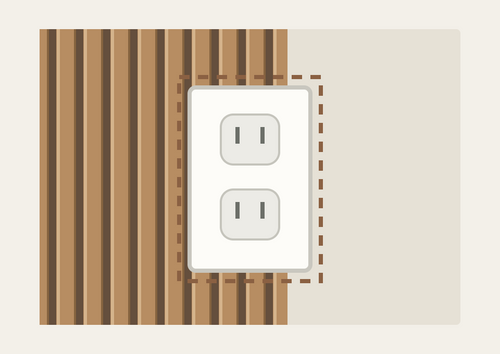
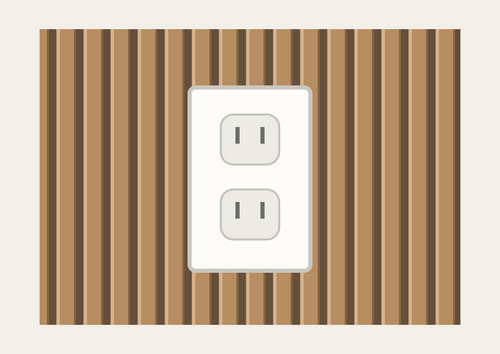
Sockets & switches
Switch off the power and remove the cover plate. Mark the opening on the panel, cut it out slightly smaller, then refit the plate over the panel.
Always turn off the power at the fuse box first.
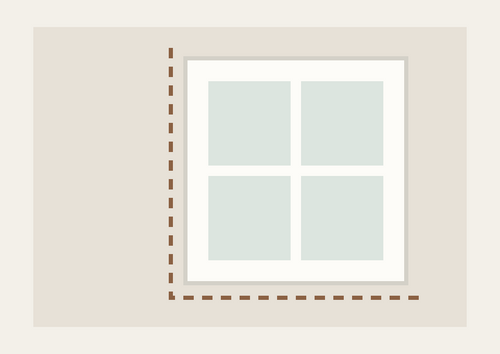
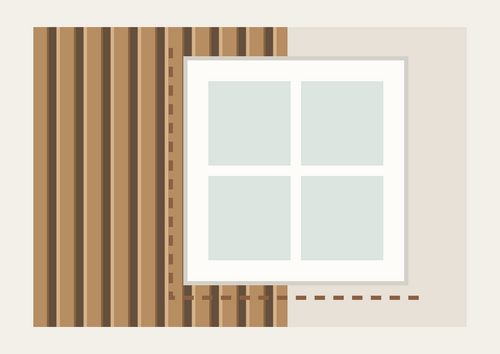
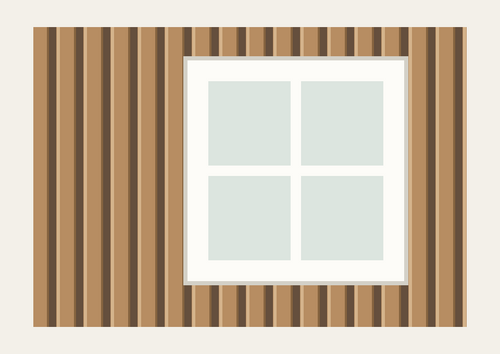
Window trim
Run the strips past the window, then trim along the frame with a straightedge.
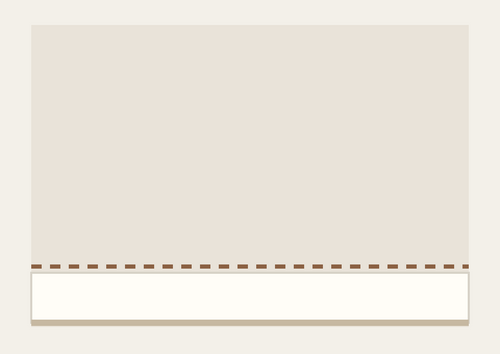
Skirting board
Let the strip overlap the skirting slightly, press firmly into the angle, then cut along the top edge.
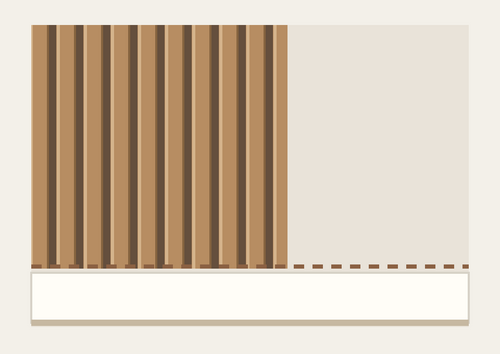
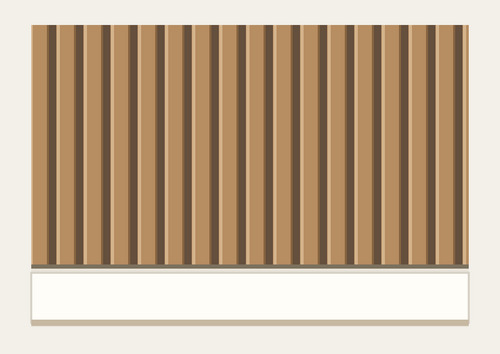
Vertical seam
Butt the next strip tight against the previous one so the slat pattern continues without a visible gap.
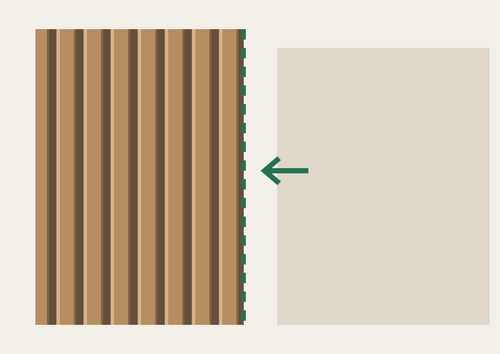
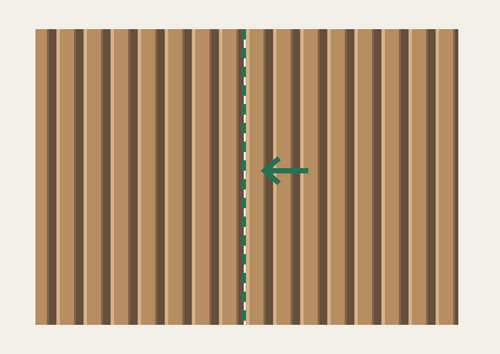
Remove. Reuse. Restyle.
Remove it. Take it with you.
Warm the top edge, peel downward and roll the sheet for its next wall.

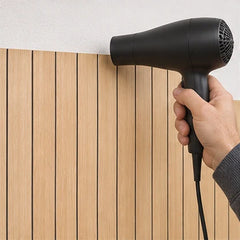
The removal sequence
Release the edge. Let the sheet follow.
-
01
Warm the upper edgeUse a hairdryer on a gentle setting, moving it along the top. Don't overheat the paint or the panel.
-
02
Release the full top edgeEase the whole upper edge away before pulling further, supporting the sheet's weight.
-
03
Peel slowly downwardWork down gradually, adding a little warmth as you go.
Keep the sheet supported. Release the top edge across its full width, then guide it down with both hands.

Ready for your next wall
Keep it clean. Roll loosely. Never fold.
-
01
Lay it flat, backing upKeep dust and hair off the adhesive side.
-
02
Make a loose rollCover the adhesive with the original release film and roll gently — no sharp folds.
-
03
Align and press into placeClean and dry the next wall, then follow the installation steps again.
Store flat or loosely rolled in a clean, dry place until you reinstall.
Good to know: Each reinstall holds a little less firmly. Reuse works best on smooth, clean walls.
Questions, answered
How many rolls do I need?
How many rolls do I need?
Use the calculator at the top of the page: enter your wall width and height and it tells you exactly how many 60 × 300 cm rolls you need, and why. Add one spare roll if it's your first time.
Is the colour exactly like the photos?
Is the colour exactly like the photos?
We photograph every finish in daylight, but screens differ. If the exact tone matters, order a sample first.
Will it damage my wall when I remove it?
Will it damage my wall when I remove it?
On sound, fully cured paint it usually comes off cleanly with gentle heat. Weak or fresh paint can lift — test a small area first.
What exactly is in my order?
What exactly is in my order?
The number of rolls you choose, all in the finish you selected, with the adhesive already applied, plus a printed guide. Tools are not included.
How long does delivery take?
How long does delivery take?
The estimated delivery window is shown next to the button before you order, and again in your confirmation email.
Can I return it?
Can I return it?
Unopened rolls can be returned within 30 days. Opened rolls can't be resold, so please measure with the calculator first.